I recently decided that it was time to setup a website for hosting my resume and entering the world of blogging to share my knowledge and learn from others. I had three requirements. First, I wanted to use AWS S3 to host my website. Secondly, I wanted my website HTTPS enabled as I strongly believe that every website should be — there is simply no reason not to be nowadays, especially since LetsEncrypt started their awesome work. And Finally, I wanted to use multiple domains I own to point to the same website. So, how can we achieve this?
Setting up an S3 bucket to function as a website is nice and simple and will support HTTPS out of the box, however, you’ll be restricted to using the bucket URL as your endpoint, i.e. http://itsmattburgess.co.uk.s3-website.eu-west-2.amazonaws.com.
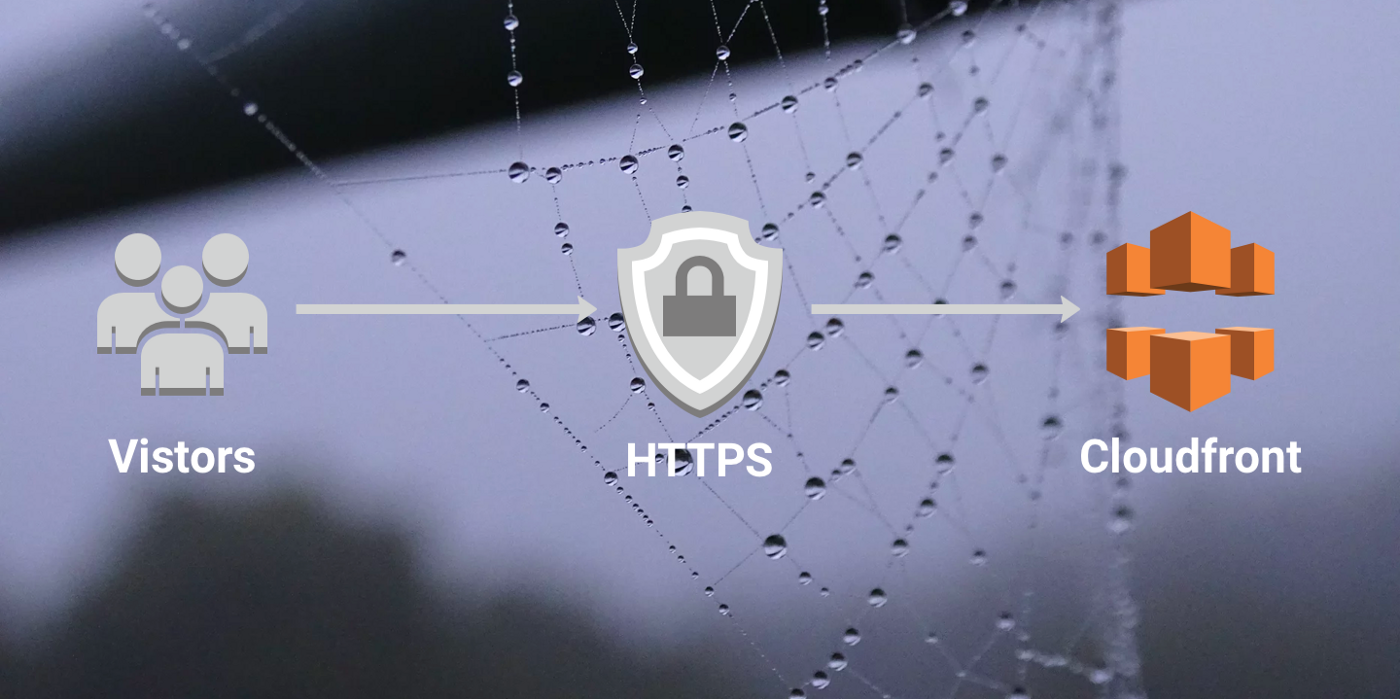
To work around this, we’re able to use CloudFront to host our website from Amazon’s edge locations with a custom SSL certificate setup for our domains.
This guide assumes you have already created your AWS account and walks you through the following steps:
- Registering a domain using Route53
- Creating and configuring an S3 bucket to host a static HTTP website
- Generating a SSL certificate using AWS Certificate Manager
- Setting up CloudFront to host our website over HTTPS
- Getting our DNS records setup
Automating the process
One advantage of cloud computing is having the ability to manage your infrastructure through API calls. This allows us to leverage tools such as Terraform and CloudFormation to automate the creation and ongoing maintenance of our infrastructure. Wherever possible you should get into a habit of Automating Everything! Once you start down the automation road, I promise you you’ll never look back — it makes infrastructure fun, predicable and much more manageable. So, with this in mind, it makes perfect sense that I would use Terraform for this project. You can find my terraform scripts on Github (https://github.com/itsmattburgess/website-terraform). The scripts will do everything I’m going to show you below, except for registering the domains and creating the SSL certificate as that cannot be automated at the present time. Feel free to use and adapt the scripts to get your own website up and running!
Registering a domain using Route53
Before we get cracking, lets register a domain using Route53. If you already have a domain in Route53 you may skip this step.
- Login to your AWS account
- Search for and select ‘Route 53’ under Networking and Content Delivery
- If you’re accessing Route 53 for the first time, you’ll be presented with a splash screen, click the ‘Continue’ button.
- In the left sidebar, select ‘Registered Domains’
- Click ‘Register Domain’
- Pick a domain name, check it is available and select ‘Continue’
- Enter all the required contact info, check the terms and conditions then select ‘Continue’ then ‘Complete Purchase’
- Follow the on-screen instructions as some domains require email validation before they are issued. It can sometimes take 5 minutes or so for the domain to appear in your registered domains page in Route 53.
Great! You now have a domain name, hosted with AWS ready to serve your new website.
Creating and configuring an S3 bucket to host a static HTTP website
Now that we have our domain ready, lets go ahead and get our website up on S3. If you don’t have a website ready to go, you can create a index.html file for the time being. If you’re looking for a little design inspiration, the source code for my website can be found on GitHub (https://github.com/itsmattburgess/website) — Feel free to adapt for your needs.
- Click the AWS logo in the top left to go back to your dashboard
- Search for and select ‘S3’ under Storage
- Click ‘Create Bucket’
- Enter a bucket name — it needs to be called the same as your domain. For example: itsmattburgess.co.uk (Do not include the www)
- The region isn’t particularly important, but pick the region closest to you
- Click next, until you reach the ‘Permissions’ tab
- Change manage public permissions to ‘Grant public read access to this bucket’
- Click next, then Finish
- Now, lets tell S3 to host this bucket as a website. Click into your new bucket
- Upload your website files
- Click Properties, then ‘Static Website Hosting’
- Select ‘Use this bucket to host a website’
- Enter ‘index.html’ in both the index document and error document field
- Click ‘Save’
- Next, we’ll set a bucket policy to enable public access to all objects in this bucket. Click the ‘Permissions’ tab then select ‘Bucket Policy’. Paste the following policy document in the text area, ensuring that you replace ‘{BUCKET}’ with the name of your bucket.
{
  "Version": "2012–10–17",
  "Statement": [
    {
        "Sid": "PublicReadGetObject",
        "Effect": "Allow",
        "Principal": "*",
        "Action": "s3:GetObject",
        "Resource": "arn:aws:s3:::{BUCKET}/*"
    }
  ]
}
You should now be able to access your website at the link provided on your screen. It will look something like: http://yourbucketname.s3-website.eu-west-2.amazonaws.com. In the next steps we’ll setup other domains you own to redirect to your main domain.
Generating a SSL certificate using AWS Certificate Manager
One of the many great things about AWS is that they provide easy and free access to custom SSL certificates for AWS services. We can leverage this to create a SSL certificate for our domain and ask CloudFront to serve HTTPS requests using the certificate Amazon provide us with.
To setup a certificate, we’ll need to verify our domain using either email or DNS records. As we’ve registered our domain through Route 53, the easiest verification method for us is to create a DNS record:
- Click the AWS logo in the top left to go back to the dashboard
- Click ‘Certificate Manager’ under the Security & Compliance section
- As CloudFront is a global service, it is stipulated that our SSL certificate is created in the North Virginia (us-east-1) region. To change to this region, Click the current region in the top right (left of the Support link) and select ‘US East (N. Virginia)’
- If you’re greeted by a splash screen, click ‘Get Started’
- Click ‘Request a certificate’
- Enter the domain name you are going to be using this certificate with. Remember to enter both the www and non-www versions. For example: www.itsmattburgess.co.uk and itsmattburgess.co.uk. This will ensure that which ever URL a user goes to, they will be presented with a valid certificate.
- Select ‘DNS Validation’ and click ‘Review’
- Check the domains are correct and select ‘Confirm and Request’
- Certificate manager will create the DNS records used to verify our domains automatically. Click each domain in the list and click the ‘Create record in Route 53’ button.
- Click ‘Continue’
Great! We’ve setup a domain, our S3 buckets and now we have an SSL certificate. Be aware it can take a few minutes for the certificate to be issued. Before continuing to the next step, wait for the certificate to be issued.
Setting up CloudFront to host our website over HTTPS
Almost there! At this point, we’re going to create a CloudFront distribution which will allow us to use our own domain and SSL certificate to host our website. What AWS is going to do for us at this point is use our S3 bucket as the ‘origin’, which is just another way of saying it grabs the contents of our S3 bucket and distributes it to ‘edge’ locations around the globe. There is a cost to this, so if you’re only planning on staying in the free tier, you should checkout the AWS Price Calculator so you have an idea of what the charges are likely to be (hint: it’ll hardly cost you anything for a personal website).
Lets get our CloudFront distribution configured:
- Click the AWS logo in the top left to go back to the dashboard
- Select ‘CloudFront’ under the ‘Networking and Content Delivery’ section
- If you’re greeted with a splash screen, click ‘Get Started’
- Click ‘Create Distribution’
- We’re going to be hosting a website rather than streaming so click the ‘Get Started’ button in the web section
- We need to tell CloudFront where the website currently lives, click the Origin Domain Name field and select your S3 website URL from the dropdown
- Next, under the Viewer Protocol Policy, select ‘Redirect HTTP to HTTPS’
- Most settings on this page will work perfectly on default settings, but feel free to explore.
- Scroll down to Price Class and pick an option most appropriate to where your visitors are going to be. The more restrictive the price class the cheaper this distribution will be. Users will still be able to access your site from across the globe but it will be slower for users in Australia if you select ‘Use only US, Canada and Europe’, for example.
- In ‘Alternate Domain Names (CNAMEs)’ text area, enter the domains which we will be hosting on this distribution, for example www.itsmattburgess.co.uk and itsmattburgess.co.uk
- Next we’re going to need to select the SSL certificate we want to use for our HTTPS requests. Select ‘Custom SSL Certificate’ and in the dropdown select your domain.
- In the ‘Default root object’ field, enter the name of the your homepage html file, i.e. index.html
- Finally, click ‘Create Distribution’
Awesome! Amazon will now start to distribute your website across the locations you specified. It’ll take around 15 minutes for your distribution to become active. Before moving onto the final step, wait until the Status shows as ‘Deployed’
Getting our DNS records setup
Last but not least, we need to connect up the dots and set up our DNS records. We’ll create an A record for each of our domains as an alias to our CloudFront distribution.
- Click the AWS logo in the top left to go back to the dashboard
- Select ‘Route 53’ under Networking and Content Delivery
- Click ‘Hosted Zones’ in the left sidebar
- Now, you’ll need to complete the following steps for each domain you’re using.
- Select the first domain and click ‘Create Record Set’
- In the right hand sidebar, click ‘Yes’ against the Alias option
- Click the Alias Target and select the CloudFront distribution relating to your domain name.
- Click Create
In Summary
That’s it! After a few minutes, you’ll be able to navigate to your new domain and see your new website in all its glory being served using HTTPS. If you decided to follow these steps manually, now is certainly the time to have a play around with Terraform and see how it’ll make your life so much easier!